


No products in the cart.
Return To Shop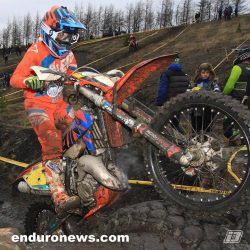 07Jan
07Jan
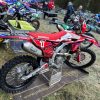
Valleys Extreme
Indigo Decals took a trip to the Valleys Extreme near Glynneath in Wales this weekend. The event certainly lived up to its name and was...
 18Mar
18Mar
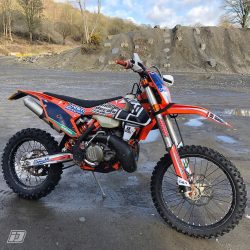
Wern Ddu Quarry extreme Enduro Training
Great time at Wern Ddu Quarry extreme enduro training with @paulboltsenduro yesterday. Our tough decals stood the test of the day….despite being dropped/dragged/flipped/somersaulted up and down the...
 05Apr
05Apr
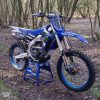
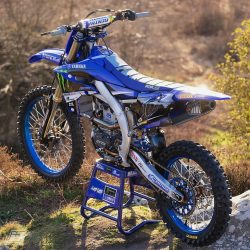
Yamaha YZF 250
This very special 2019 Yamaha YZF 250 build has recently been completed by Lee Dixon. We are very happy to have produced the graphics to...